Getting started with the Business Content Library
Introduction to delivering Advice@Scale with The Business Content Library
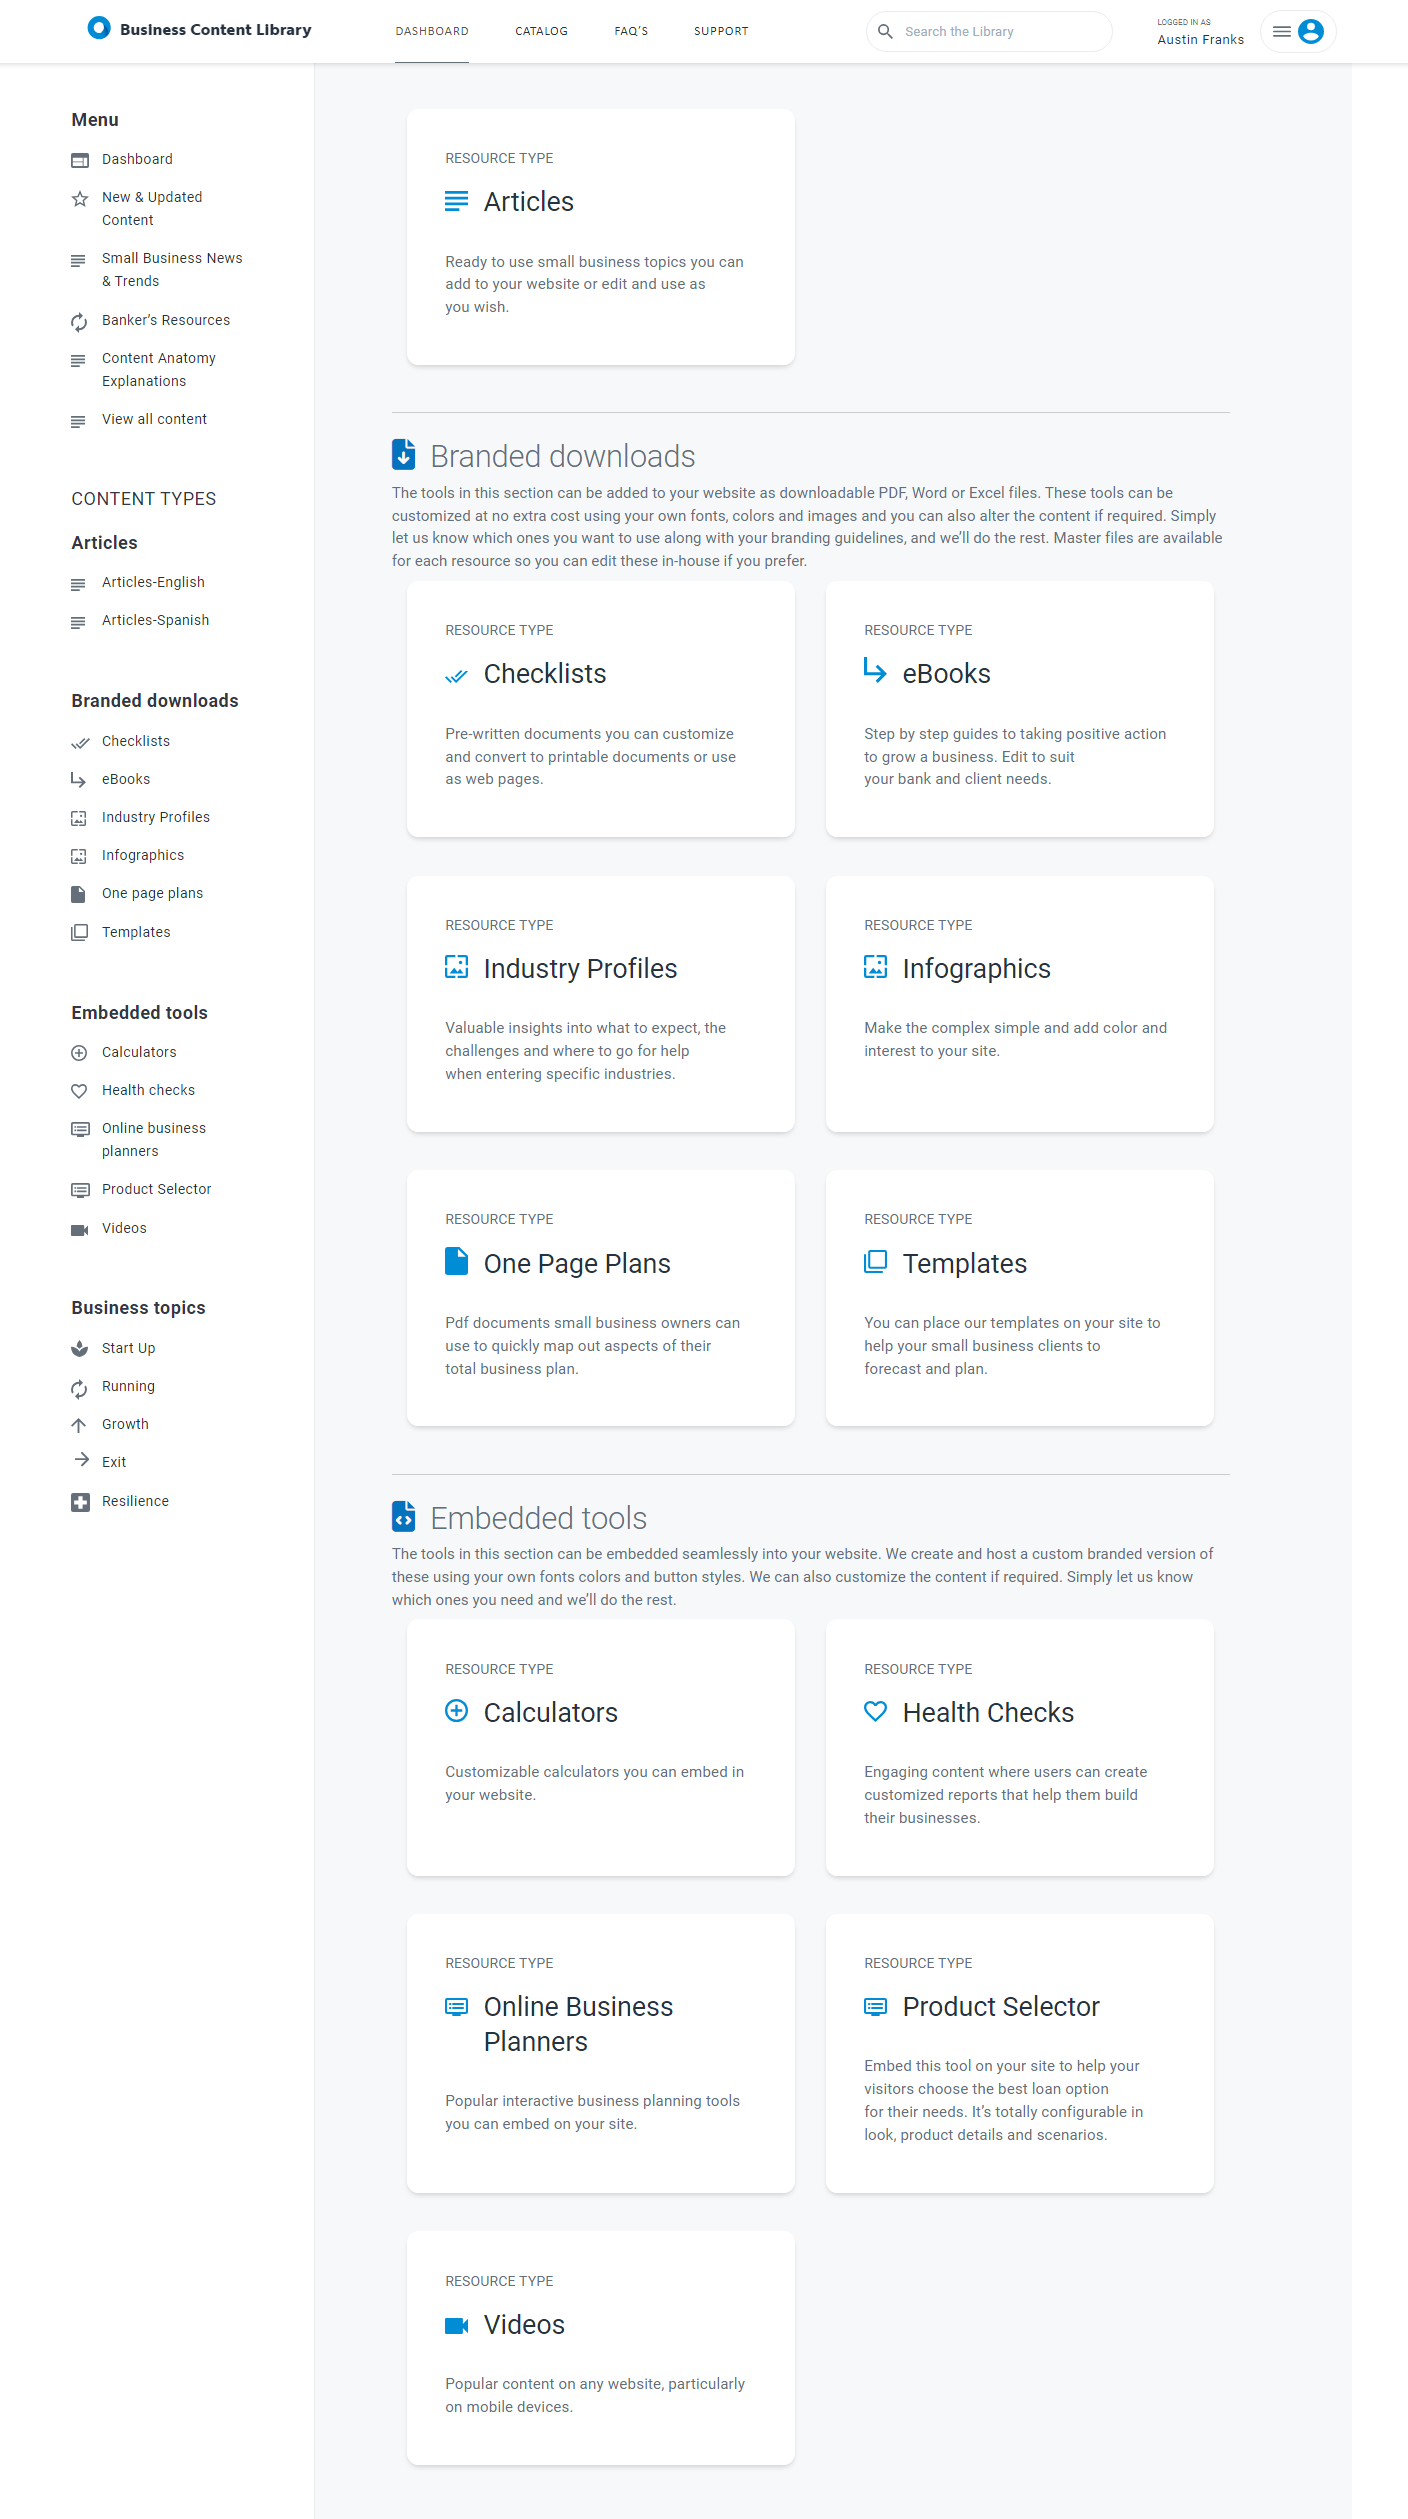
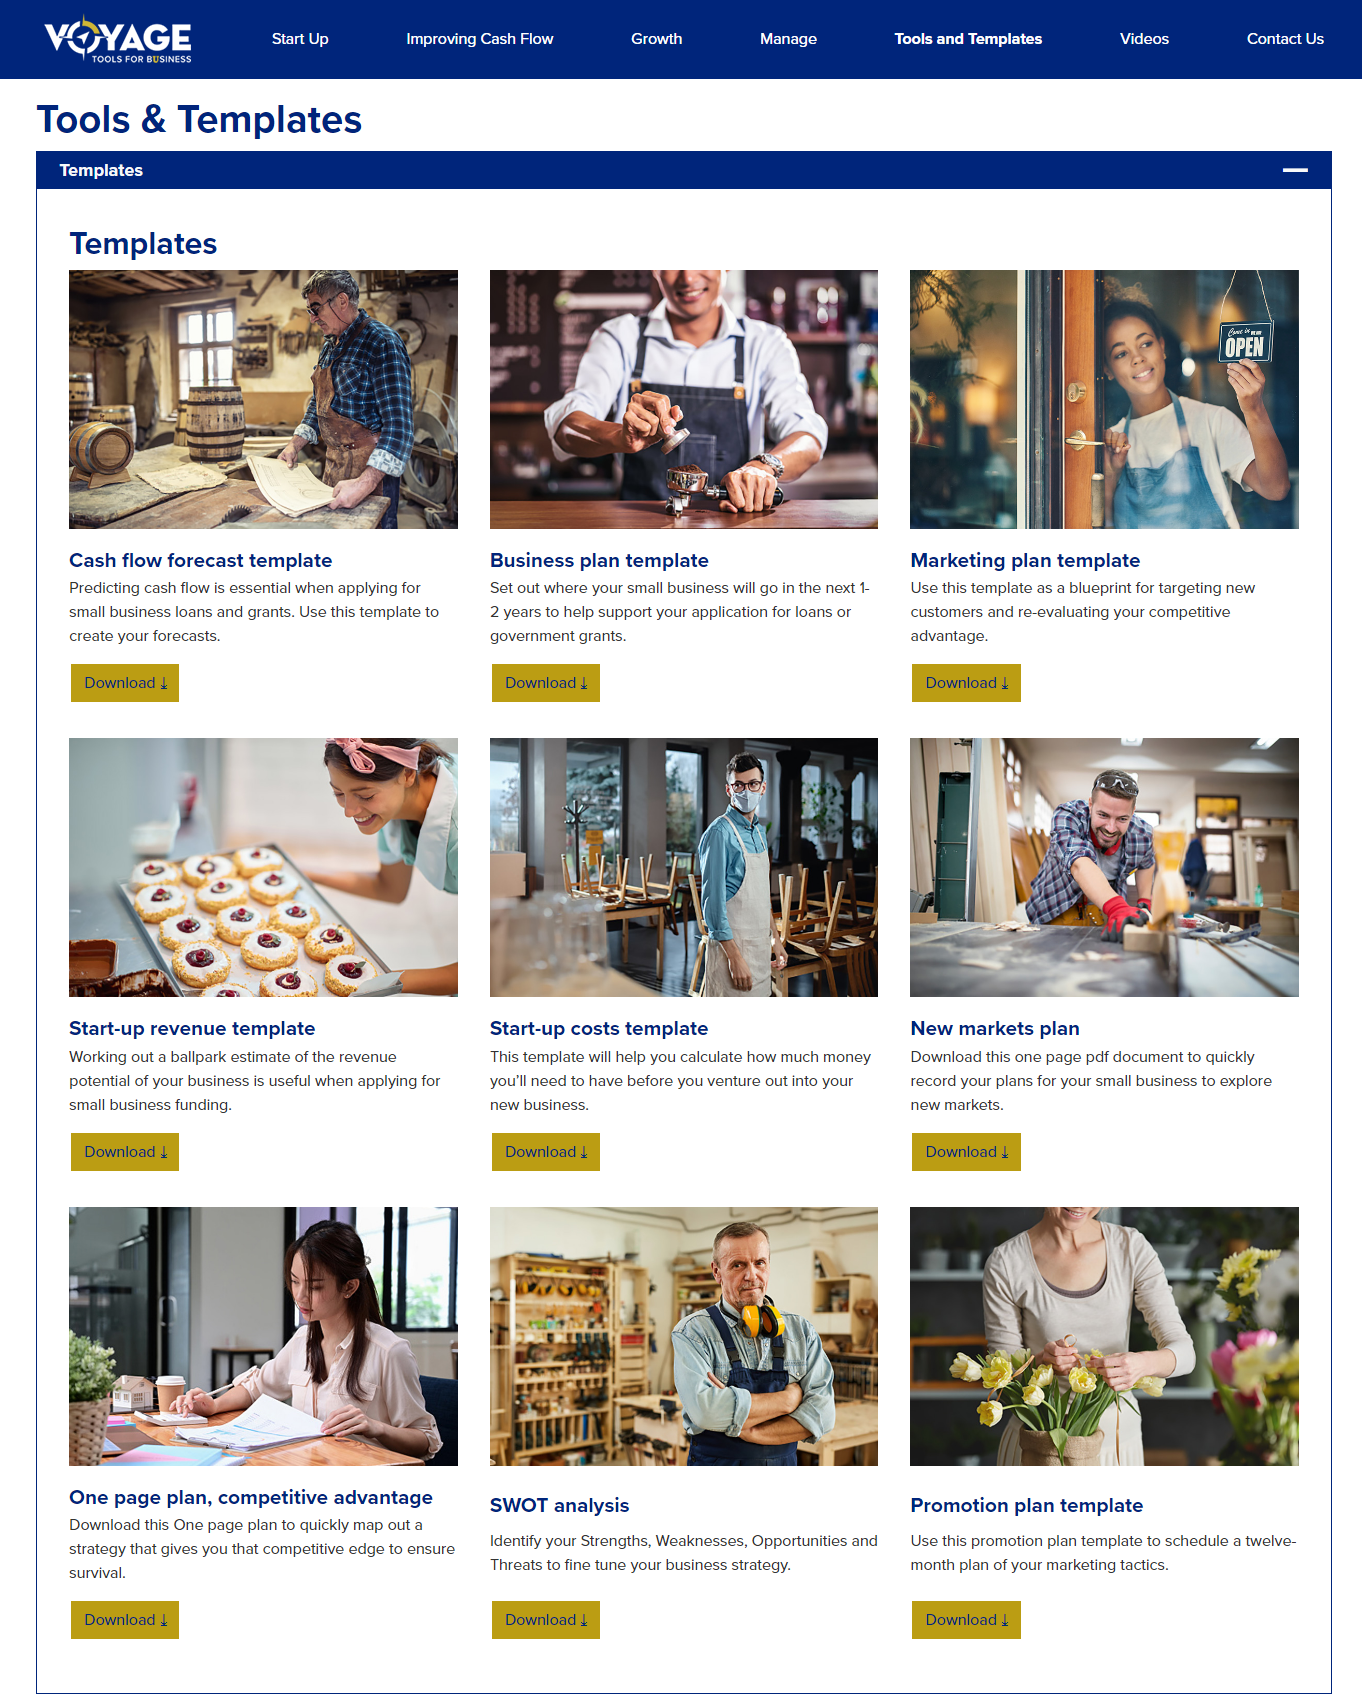
- When you log in, you will be redirected to the site dashboard. You can return to the dashboard at any time using the links in the top and left hand menus.
- The dashboard provides quick access to the different content types (for example, articles, templates and videos, etc.)
- The upper section of the left side navigation menu provides access the latest content we’ve published (we generally add new material every month), newsfeeds from the web on small business topics, Banker resources including suggested disclaimer texts, email templates and other useful banker/client tools.
- For an in-depth visual description of the content types, download the ‘Content Anatomy Explanations‘
- To get a quick start on selecting content, try the Business topics Section at the bottom of the left menu. We have selected a range of content suggestions to add to your site based on broad business needs such as Starting-up or Business Growth.
- There are hundreds of content items in the Articles section which are also divided into business stage topics for easy navigation.
- Use the site Search in the top navigation to search the entire library for content by keywords. The search tool will search titles as well as content.
- Each content item has a ‘Mark as published‘ button you can use to record which ones you have already used.
Our content is available in three main categories depending on how you will deploy them.
Articles
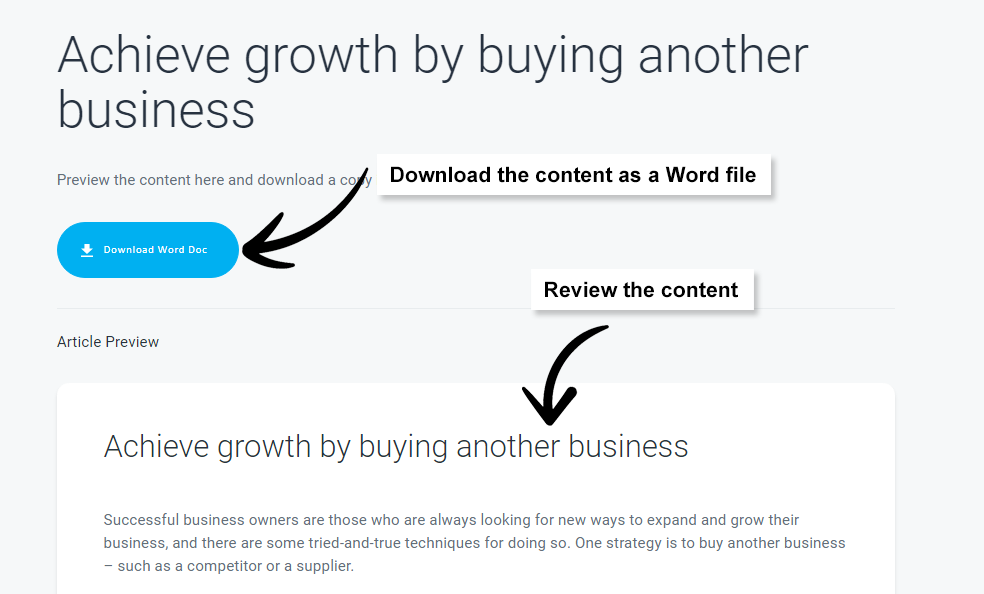
Ready to use business guides. On each article page, you can read the full text as well as download it as a Word doc. Use as-is or edit the content as required to suit your brand and business needs. Usually these are used to create web pages, blogs, social posts or newsletter articles, but feel free to use them any way you wish.
Branded downloads
The tools in this section can be added to your website as downloadable PDF, Word or Excel files. These tools can be customized at no extra cost using your own fonts, colors and images and you can also alter the content if required.
Interactive tools
The tools in this section can be embedded seamlessly into your website. We create and host a custom branded version of these using your own fonts colors and button styles. We can also customize the content if required. Simply let us know which ones you need and we’ll do the rest.
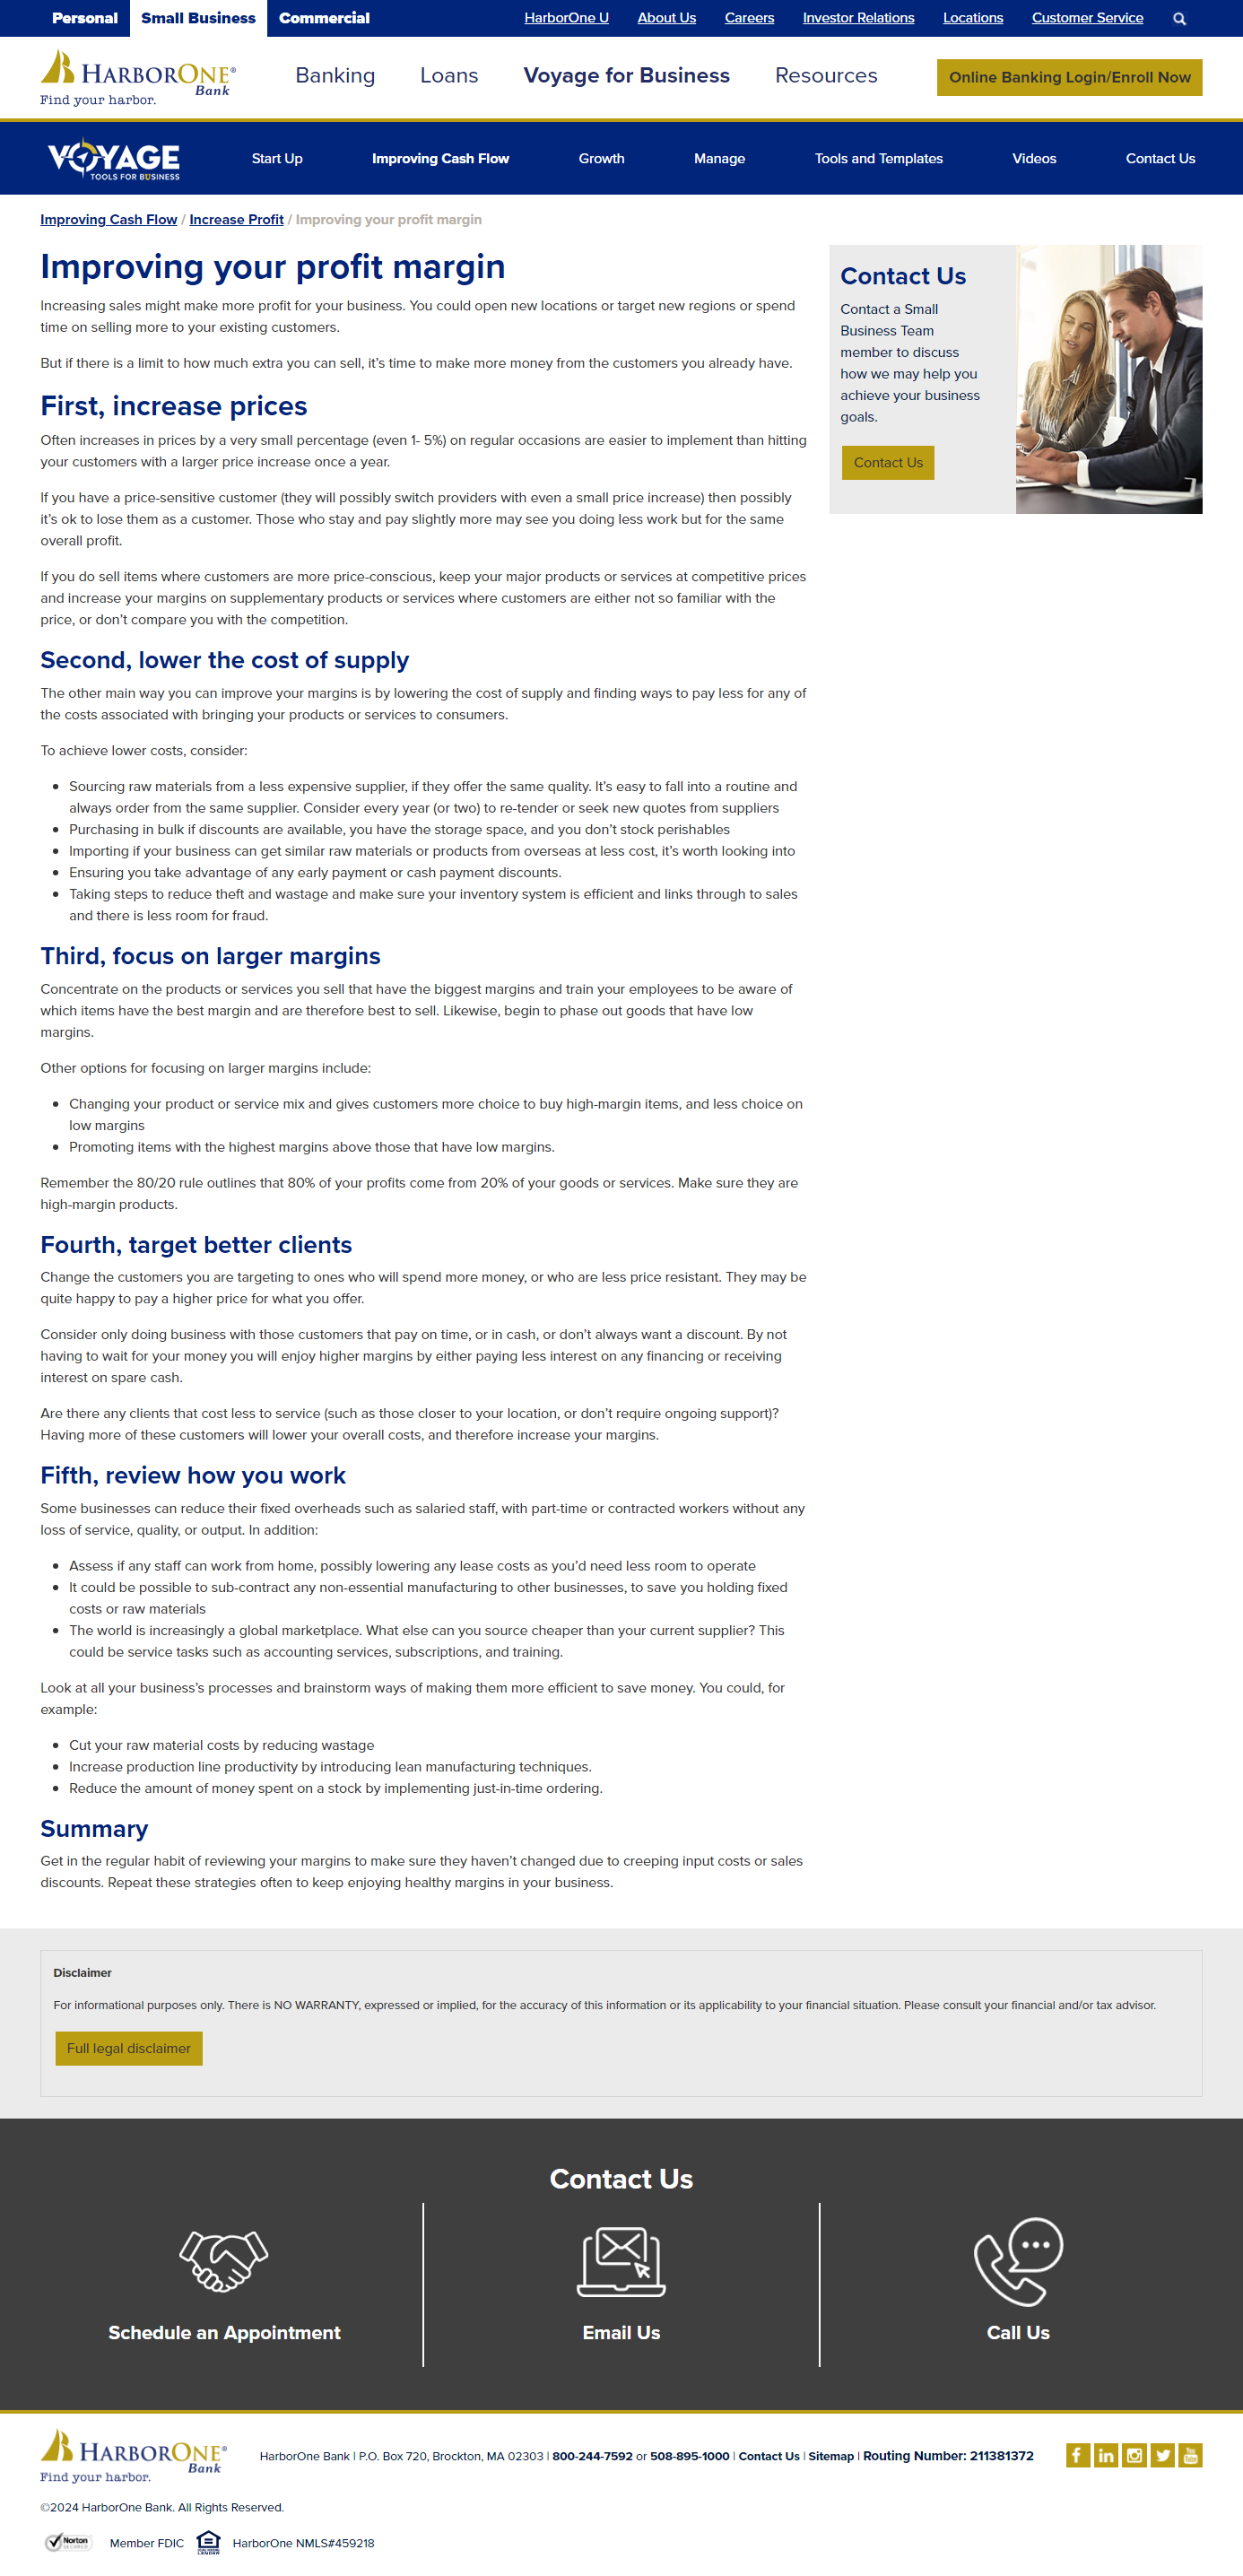
Navigate to the Articles page. Once you have found an article you wish to use:
- Download the Word doc from the download button.
- Edit the content as required
- If required, send a copy of the document for review to your legal/brand policy teams.
- Copy and paste the content into your web page or newsletter CMS.
- Many articles have social media texts you can use to promote the article in your social channels. Try using these or writing your own.
Note: If you are not making any edits to the content, try copying the text directly from the Article page and pasting into your web site CMS. This may alleviate the need to mark up the content from the Word doc into html code.
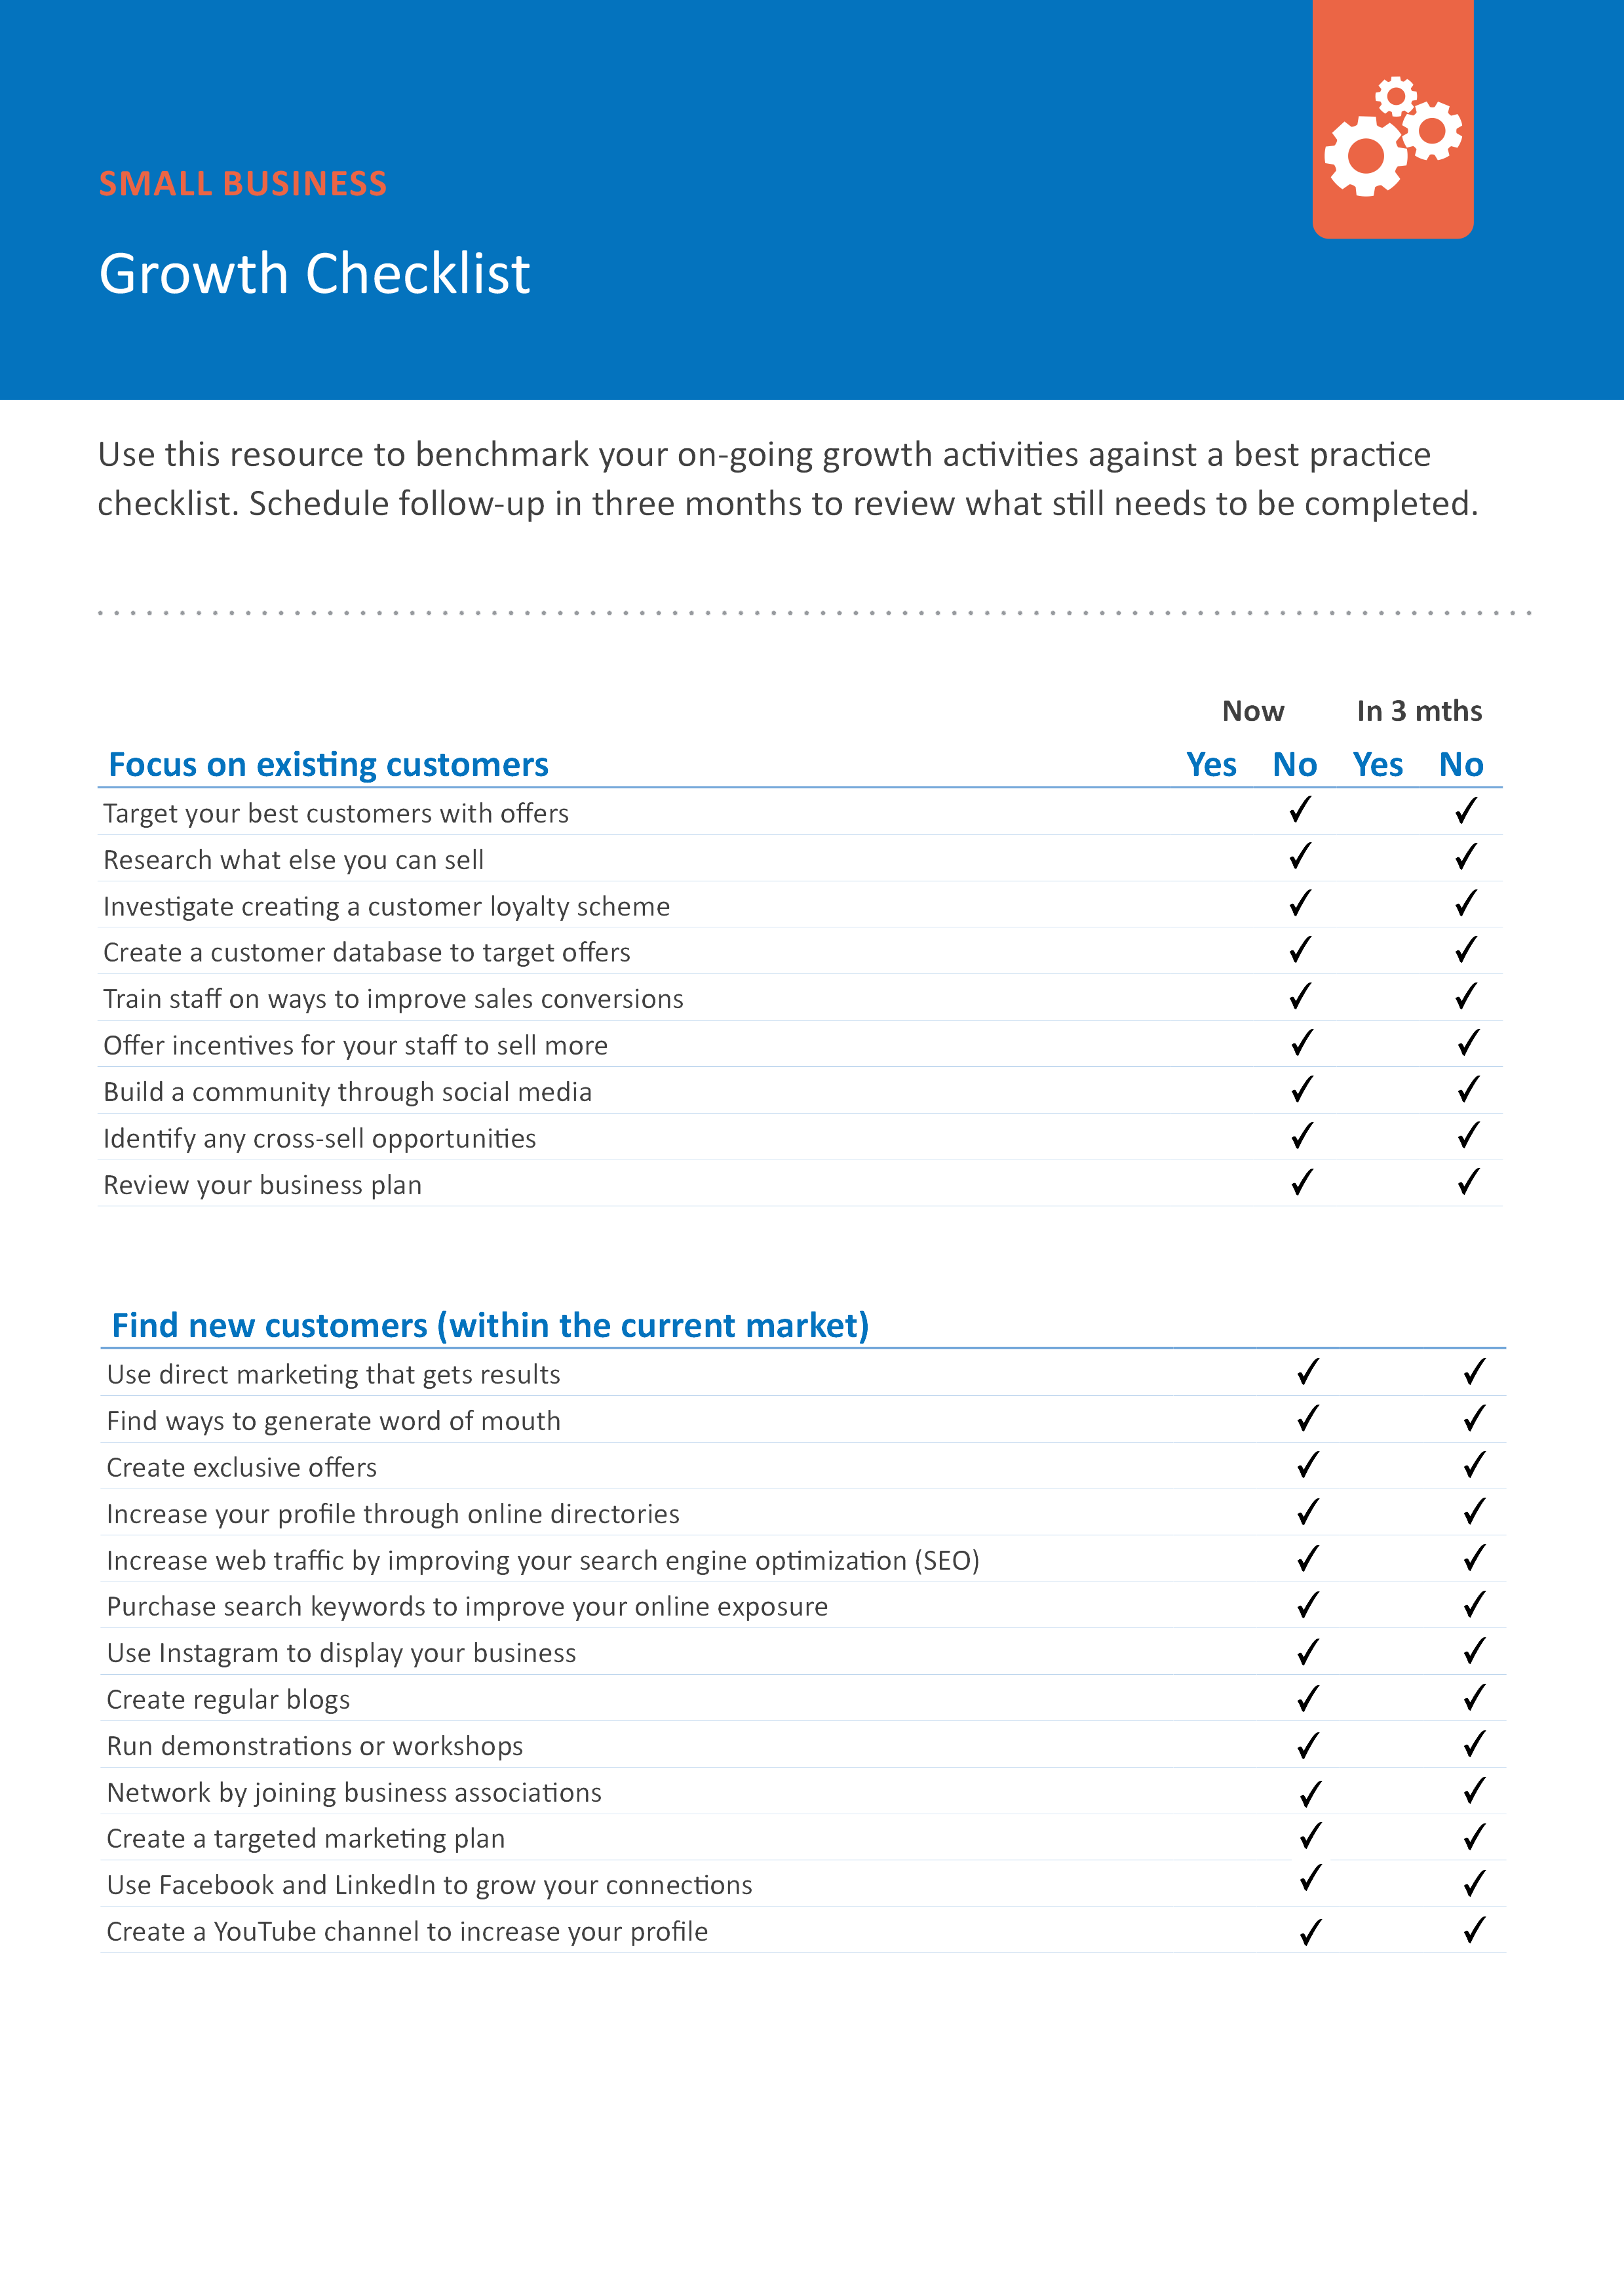
These tools include checklists, templates, and one page plans that are used by small businesses to make calculations to help them make better business decisions, or to assist with planning, etc.
Simply let us know which ones you want to use along with your branding guidelines, and we’ll do the rest. Master files are available for each resource so you can edit these in-house if you prefer.
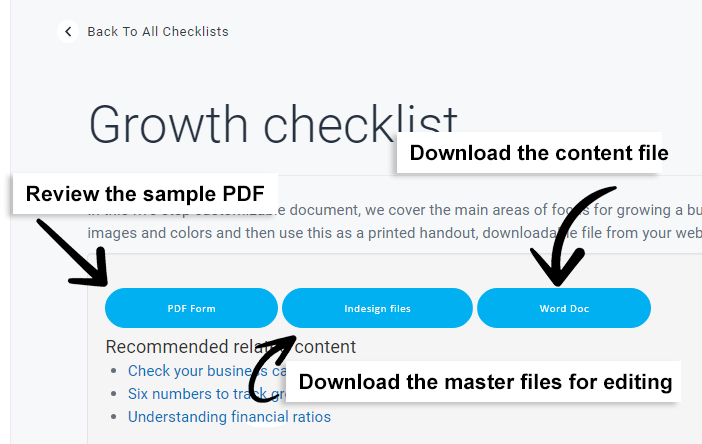
Steps to customize
These tools must be customized to match your brand.
- Download the PDF or Excel file and review the generic content.
- If you would like to alter the text in the document, download the Word file and make your edits.
- Send the edited Word document to us along with your branding guidelines and any other brand assets you would like us to use (e.g., fonts, icons, images).
- We will provide you with a first draft of the updated file for you to review and check branding. (This usually takes around 10 working days depending on the number of files required.)
- Review the first draft and provide us with your feedback.
- If any other branded items are required, we will use this approved branding example to produce the rest.
Most of the download tools are developed using the industry standard Adobe InDesign software. If you intend using your own design team to rebrand these documents for your site, you can download the master .indd files for them to use instead.
Where to use them
Add the downloads to your site/server then create links or buttons on your site to enable visitors to download them.
- Landing page
You could create a landing page for each item that includes a description of the tool and ways to use it, then link to this page from your menu and other pages. - Resources page
Add a page that lists all the resources (e.g., ‘Tools and templates’) that includes short descriptions and a download button for each item (or link to the item’s landing page). - Add links in context
If you have articles or product pages on your site, try adding links to relevant downloads. For example, add a link to a cash flow template on a loans page, or within an article about cash management.
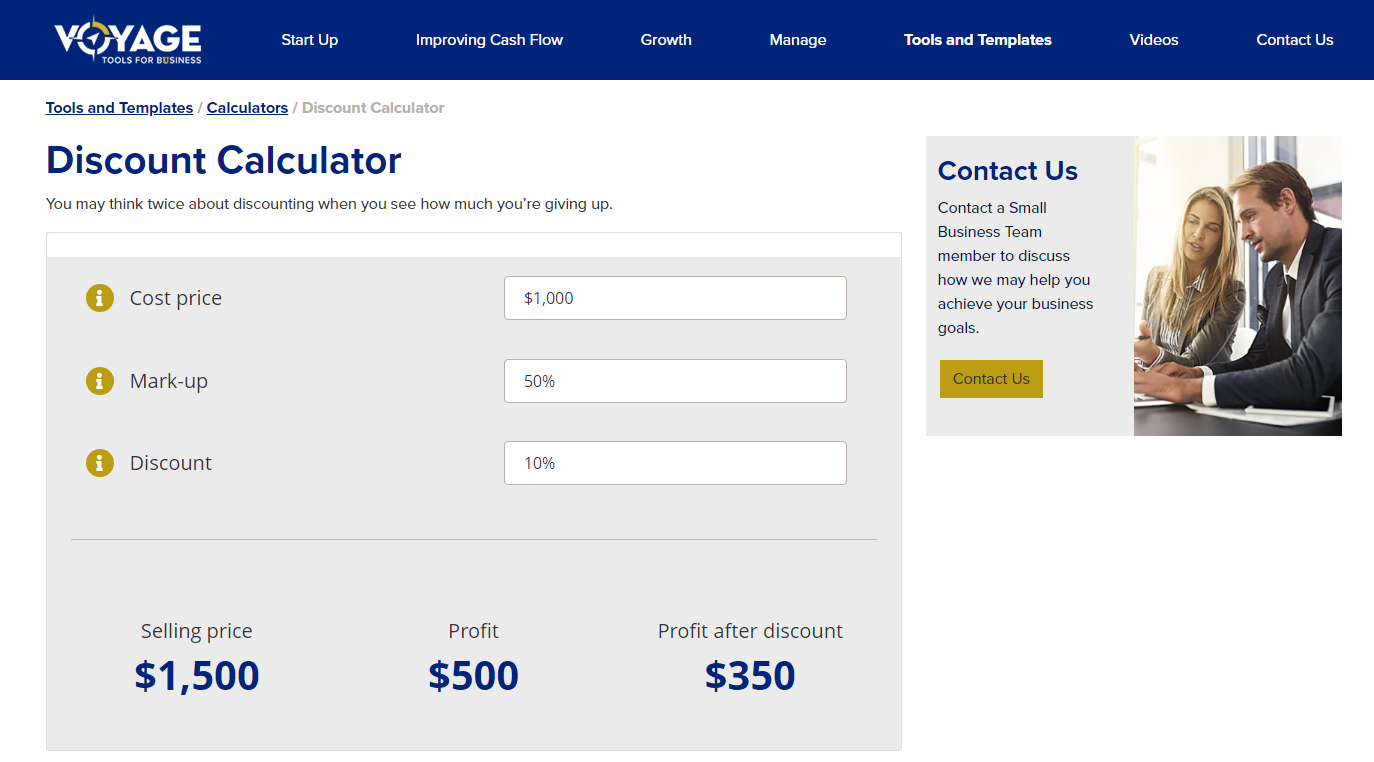
These tools include calculators, online business planners, animated videos, business health checks and our Product Selector.
They are usually embedded in your web page using an iFrame.
Steps to customize
These tools must be customized to match your brand.
- Check out the sample tool in the Business Content Library and review the generic content.
- If you would like to alter the text in the tool, download the Word file (where available) and make your edits.
- Send the edited Word document to us along with your branding guidelines and any other brand assets you would like us to use (e.g., fonts, icons, images).
- We will create a unique customized online copy of the tool and provide you with a link for you to review and check branding. (This usually takes around 7 working days)
- Review the first draft and provide us with your feedback.
- If any other branded items are required, we will use this approved branding example to produce the rest.
- Once complete, we will provide instructions on setting up the iFrame link.
Note If your web team prefer to locally host scripts and files, we can provide the necessary files to host on your own server. Please ask.
If you require assistance with any branded items (downloads and interactive tools) please check you have provided the following.
- A list of the items you require. Please record the item name exactly as it appears in the Library and it’s type (Some titles are available in more than one content type – for example, Break-even calculator and Break-even template).
- A copy of your brand guidelines.
- A copy of your fonts if they are bespoke or only available through a commercial foundry.
- A guide to target deployment dates.
Talk to us directly. We are here to help you get the best from your content.
-
Strategy, contracts and planning: Message Glen Senior CEO –
[email protected] -
Deployment of tools, technical assistance, branding and design: Message Bruce Young – Digital Deployment and Support Manager
[email protected]


